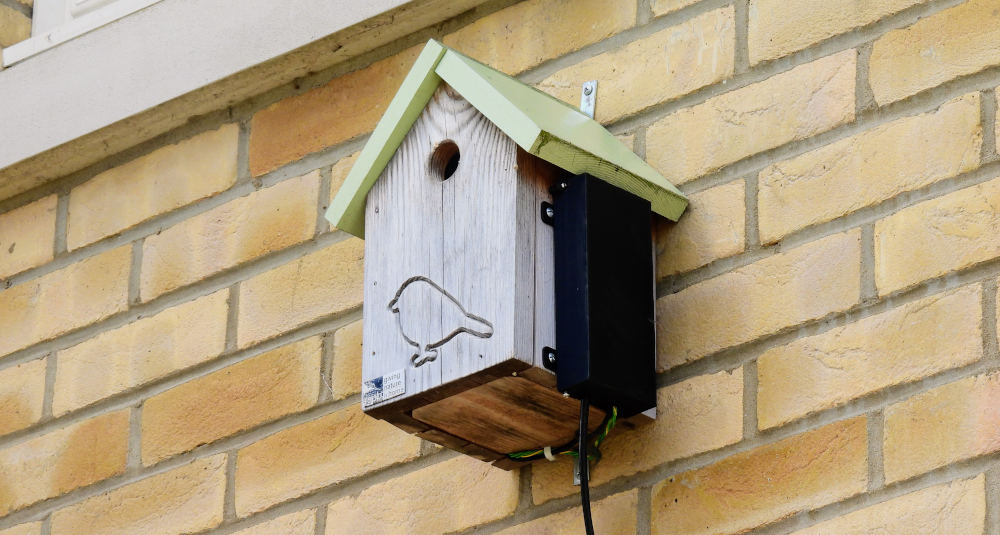
This is the bird box that is shown at beaks.live. It is on the side of a house in Cambourne, about 8 miles west of Cambridge, in the UK.
When I put a camera in this bird box last year, I was not optimistic. Expecting to capture nothing more than the inside of an empty box, there didn’t seem much point in spending any significant sum of money on a camera. I decided to see how well I could get it working for how little money.
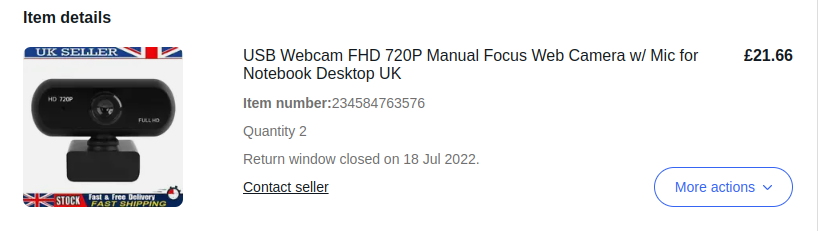
Two cameras for £21.66 doesn’t scream quality, but they are able to manually focus down to a few cm. Being cheap and nasty also means they won’t have an infra-red filter on the lens, which means I can illuminate the box at night with a light the beaks can’t see.
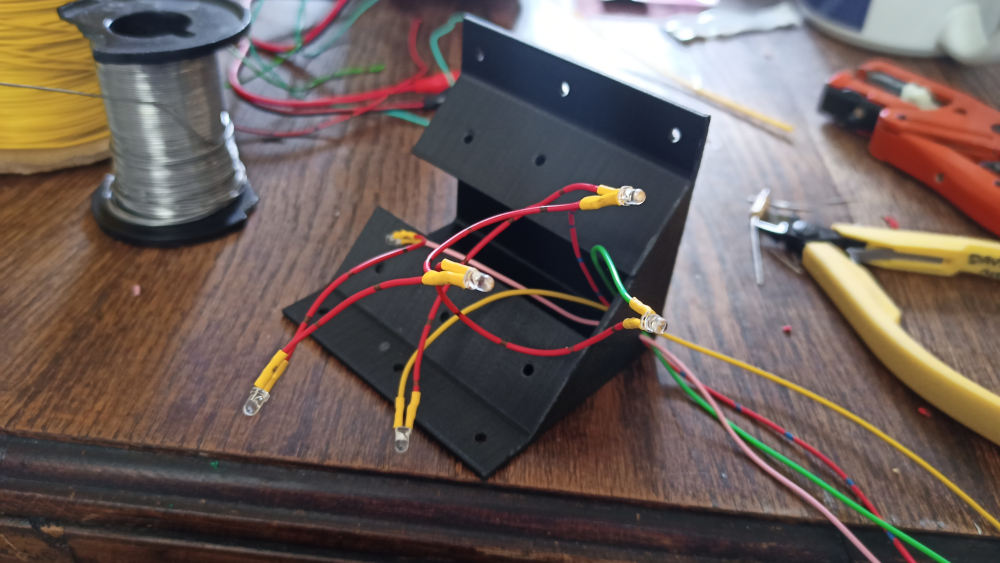
I picked one and sawed off the mounting at the bottom, knocked up a 3d printed housing to fit it in the apex of the bird box roof, and fitted some cheap Ebay IR LEDs.
This is the camera and LED housing mounted in the bird box:
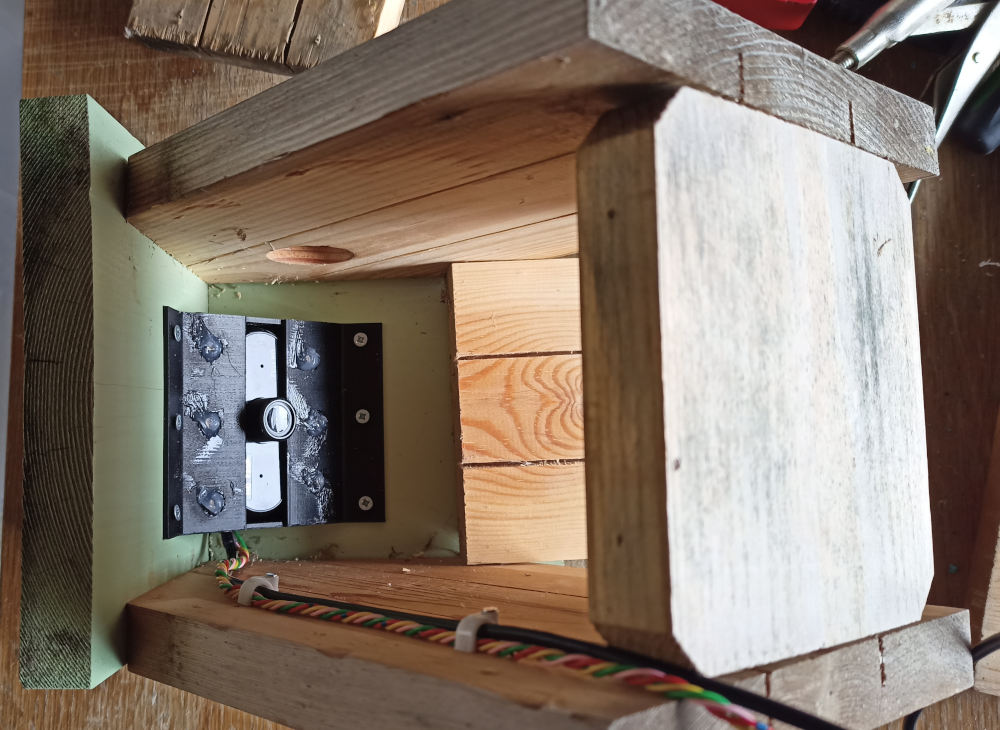
On the outside is the 3d printed box which holds the interface to the cable that goes into the house and the drivers for the LEDs. I actually had a proper PCB made with a D/A for the microphone but I never wired it up because I’m lazy. That’s why there is no sound. Sorry.

The LED controls and USB for the camera share a length of CAT-5 cable into the house, where they plug into the Raspberry Pi, which has an ethernet connection to the router.
And that’s the hardware. Total cost probably around £75, including custom made PCBs, which were ridiculously cheap. I mean like stupidly cheap – around £5 for 5 PCBs, including delivery from China. Anything clever is done in software, including stuff to improve the performance of the (frankly substandard) parts I used. Next year I’ll replace it with decent kit, including a camera that isn’t shit.
Coming up next… The software