Ever wondered why plumbers are paid so much?
It’s a difficult job that combines working in horrible conditions with the need for multiple skill sets. But the main reason plumbers are well paid is because they know the arcane secrets of plumbing fittings. It is dangerous, forbidden knowledge, some of which I am about to share. Strap in. We are going through the looking glass…
Update: Thanks to all the good people on Hacker News for their input, from which I’ve learned a lot. I should stress that any following advice is not from a professional plumber and is purely from my own experience as an idiot making a low pressure beer handling system. It should not be read as the proper way to do anything, especially if you are working on pressurised systems and definitely totally 100% not with gas fittings. Get someone in to do that, you lunatic. Seriously. Don’t mess with gas.
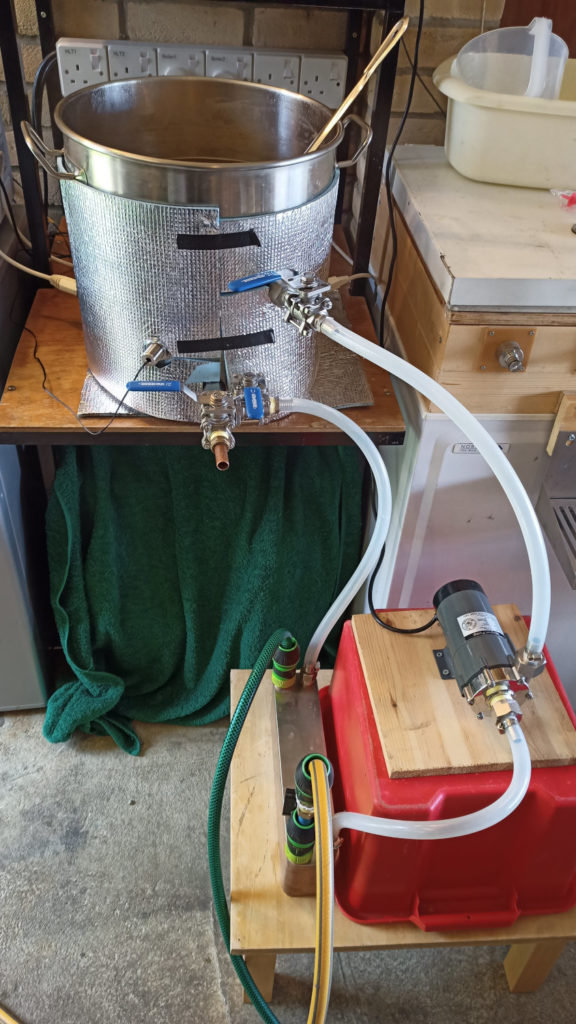
This is posted from the perspective of a home brewer, so it’s just a small subset of the world of plumbing fittings – we use mainly stainless steel fittings for sanitary reasons.
The first thing to remember is this:
Nothing makes sense
In the UK, stainless steel fittings usually screw into each other, using a standard thread called “BSP” – British Standard Pipe thread. You will see 1/4 BSP, 1/2 BSP etc. A common size is 1/2 BSP – the “1/2″ is, of course 1/2 an inch. So which part of the thread is 1/2 an inch? None of it. So it’s the diameter of the pipe? Nope. The pipe’s diameter is about 3/4”. The 1/2″ refers to the inside diameter of some random cast iron pipe the fittings were originally made for. This type of pipe has probably not been used since 1834 when Isambard Kingdom Brunel rigged his privy to flush as a birthday present to his wife. Nothing in a 1/2″ BSP fitting measures half an inch – not even the inside diameter of the pipe, because modern pipes have thinner walls.
So to recap, the “BSP” measurement is a standard for the outside pipe diameter and threads and gets its number from the inside diameter of a pipe that doesn’t exist. I guess we should just be grateful that a larger number means a larger pipe – I’m looking at you, Standard Wire Gauge.
But let’s not get downhearted, it is a standard after all. At least any 1/2 BSP thread fits any other 1/2 BSP thread. It must do, right? Oh dear god no. There are two types of BSP thread and the first fits in the second but the second doesn’t fit in the first.

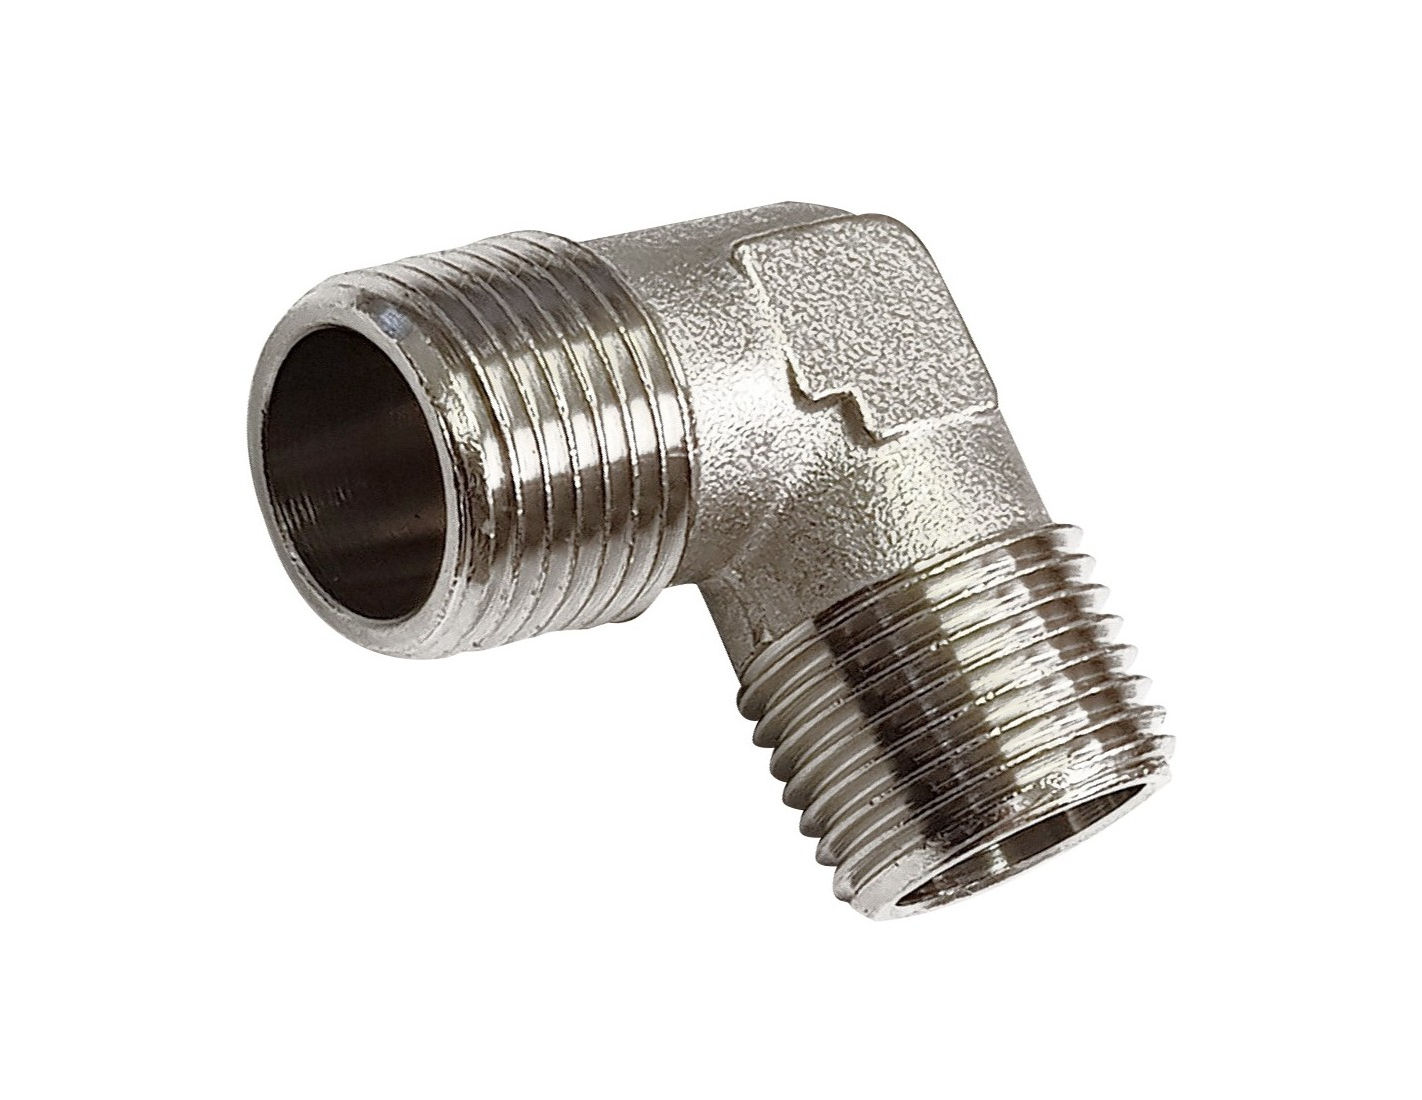
You can have either a tapered thread or straight thread on either the female or the male part of the fitting. Note that the picture shows the straight thread having an O ring. Nah. That’s way too easy, so we don’t do that – more later. Anyway, obviously a tapered male in a tapered female is fine, and you get a nice tight fit. Now imagine putting a tapered male in a straight female. That too is fine; the bottom few threads don’t fit properly, but the top ones do and there is enough contact to make a seal. But putting a straight male in a tapered female does not work. It will leak and you will be sad. The thread of the straight male hits the bottom of the tapered thread while the top is loose, so there is hardly any contact area.
So you need to make sure you are getting your tapers and straights correct, and naturally no one goes to any effort to tell you what you are buying. In theory “BSPT” means BSP Tapered and “BSPP” means BSP Parallel but hardly anyone uses these terms because that would make it too easy. Everyone just calls them “BSP” so there is no way to know if they are parallel or tapered, unless it’s actually stated somewhere in the description, which it usually isn’t. Some people even call straight ones “BSPT” because they think the “T” stands for “thread”. Marvellous. That really fucking helps, thanks.
Given that using a tapered female fitting means 50% of the male fittings don’t actually fit, then they must be rare, right? Nope. They are everywhere and you have to use your telekinesis because no retailer ever bloody tells you if they are tapered or straight. You might be thinking “what is the point in making tapered female fittings if you can fit both straight and tapered males in straight ones, which are easier to make?” The answer is simple – they hate you and they hate me. Or possibly tighter coupling or something, but I suspect it’s just plain spite. When buying male fittings, it’s best to always get tapered ones so they fit in either. I mean why do they even make straight ones? The only possible reason is malice. Or they are cheaper. It’s malice though.
It would be useful if manufacturers indicated the fitting type with some sort of mark, so of course they don’t. You have to squint at it and guess.
This is not a problem for plumbers, who have to have every type of fitting on the planet rattling around in the back of the van. If they buy 50 flanged wibblers with tapered threads by mistake, they can just buy 50 straight ones from somewhere else and they will all be used eventually. You and I end up with a box full of unwanted fittings, but it’s useful to have spares, I suppose.
There are other types of fitting – “G” (as in G 1/2) and “NPT” (as in 1/2 NPT) . You might see “G 1/2” used with metric push-fit connectors. Yeah, that’s BSP as well. G 1/2 is 1/2 BSP because it’s not confusing enough to just have one name for a standard that doesn’t always fit itself. At least they kept the numerical part of the name – which doesn’t actually match any dimension of the fitting,
Then there’s NPT. NPT threads are different from BSP, which actually comes as something of a relief at this point. Naturally, they aren’t different enough to be immediately obvious because that would spoil the fun. Oh yes, NPT is identical to BSP, with the only difference being angle of the valleys in the thread and that the threads are pointed. This means that despite looking the same, NPT is not compatible with BSP. Because fuck you, that’s why. Luckily, you don’t see many NPT threaded fittings in the UK and they are only sold by genuinely evil retailers.
Let’s dip briefly into the sane world of metric fittings. Ahhh… 15mm compression fittings make sense, with their sensible millimetres sensibly representing the actual diameter of the pipe. Except that… Sorry… The thread on a METRIC 15mm compression fitting is not metric, it’s 1/2 BSPP! You cannot escape the lunacy in a metric lifeboat. Actually, best not to complain because it’s quite useful that you can do things like bodge cheapo 15mm isolating valves into your 1/2 BSP pipework.
Unless it’s tapered.
Using the bloody things
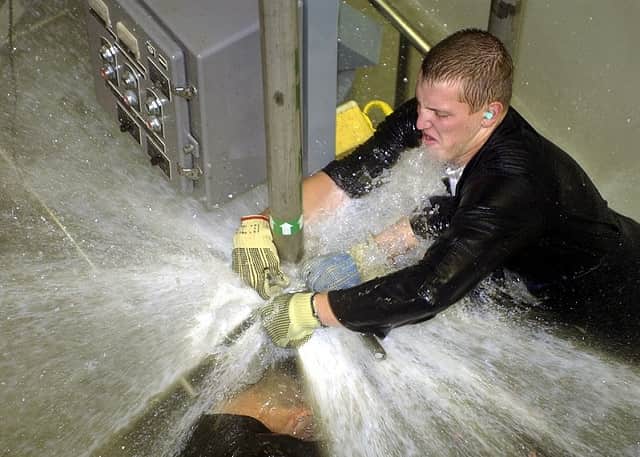
Given the ubiquity of BSP threads in stainless fittings, you might think there is some sort of advantage in using this utterly psychotic standard. It must give nice leak-tight results and be easy to use? No. It’ll drip like a fucked fridge and you don’t know what angle the joint will be when it’s tightened up. On the plus side, you get a genuine feeling of achievement when you get a nice looking leak-free system. On the minus side, everything else.
Remember that picture up there showing tapered and straight threads? Remember the one on the right says it uses an O-ring? Bullshit. It’s a fairy story that plumbers tell their children (probably). In the real world, there is no flange on your typical straight fitting. Look.
Where does the O-ring go, eh? Eh? EH??? No, we use PTFE tape, and it sucks. For what it’s worth, I tightly wrap the tape 10 times round the male thread and get an enraged mountain gorilla to tighten it up. Or a bloody great spanner if there are no nearby gorillas. This means, of course that it ends up with the other end pointing in a random direction. If you want your pipework to look like a Windows XP screensaver, then that’s fine. For those of us with an ounce of pride left and some vestigial will to live, there are 2 choices:
- Before going full gorilla on the joint, there is a small window of tightness where the thread hasn’t bottomed out, but it will still be leak proof. If your desired angle is in that window, then the gods of plumbing have smiled on you this day. Good luck finding it. Plumbers, of course, have an extra sense to us mortals and can find it easily.
- You use a union. This lets you connect two BSP fittings without screwing them together. Each thread is screwed in to a round flange and the two flanges push together with a PTFE washer between them. A large nut clamps the two halves tightly.
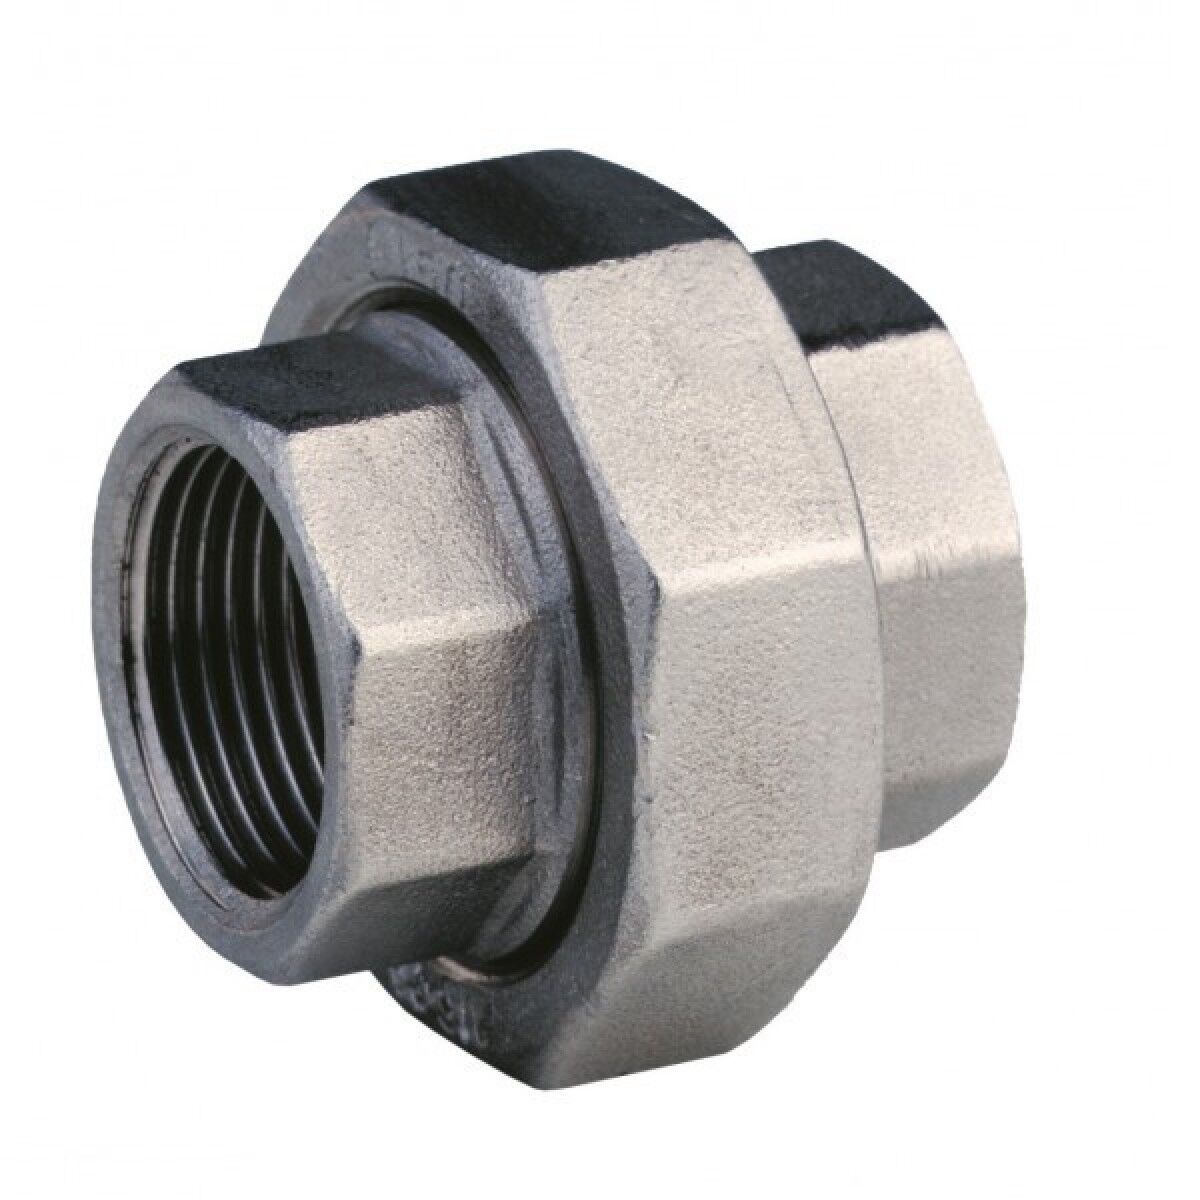
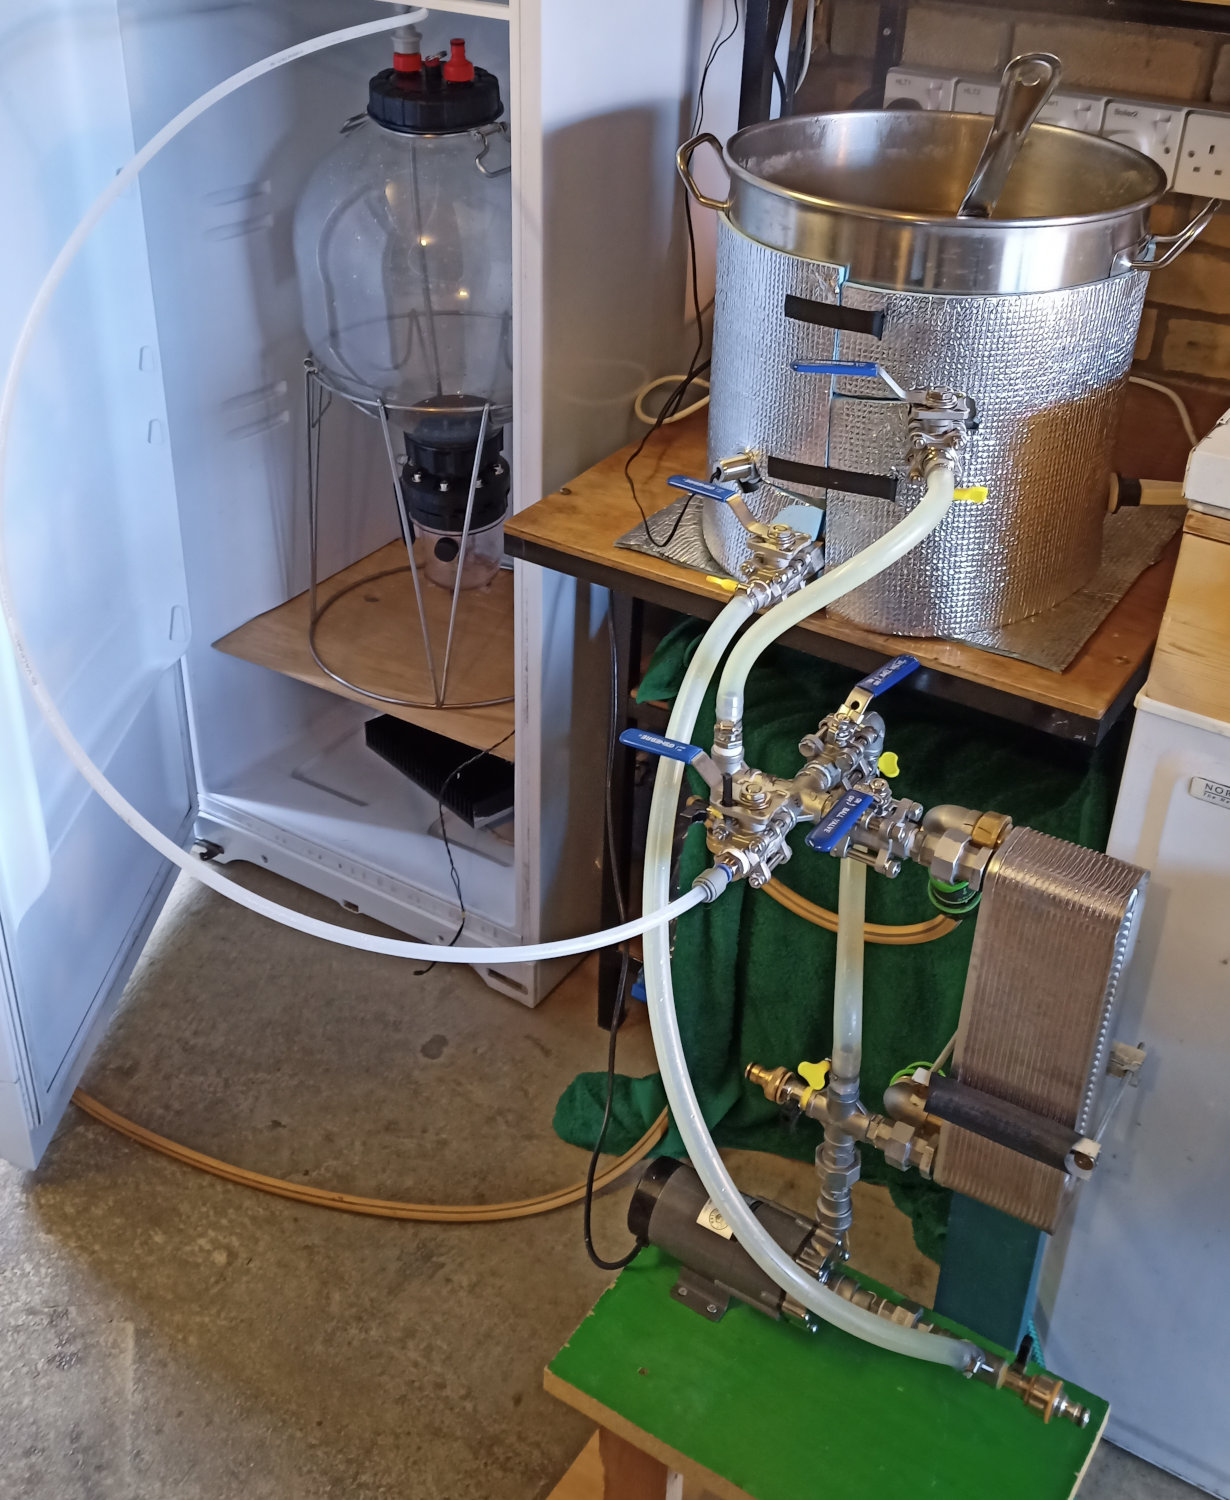
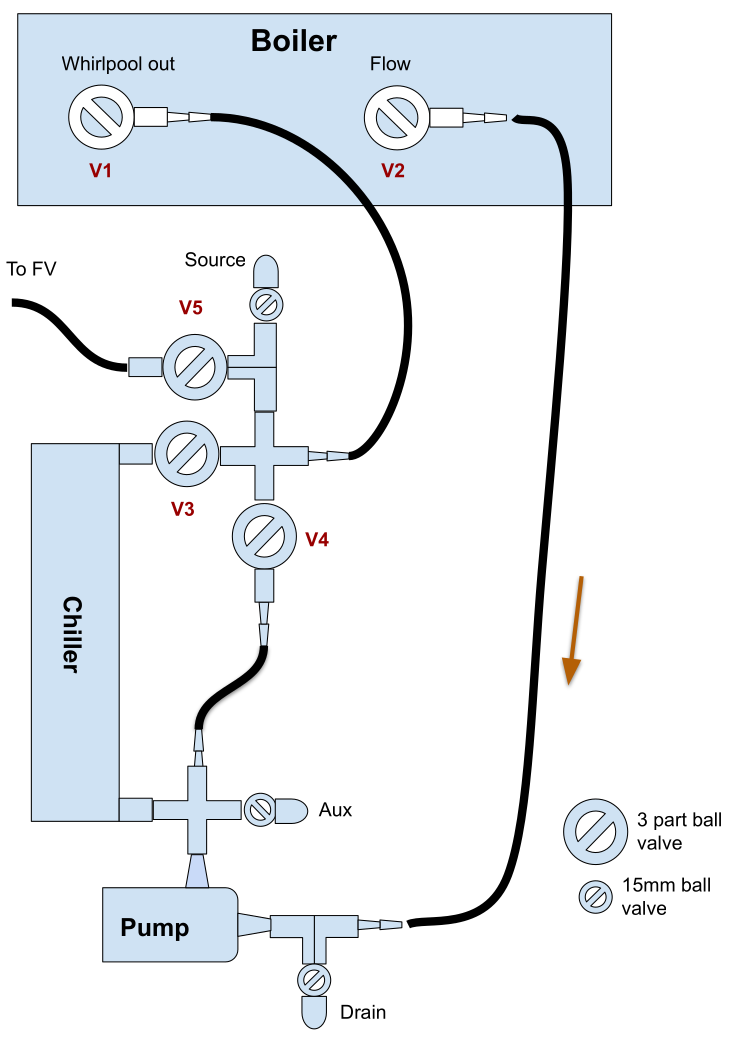
This is especially useful when you are assembling the final mess.
I hope this is useful to you and good luck in your plumbing. Final comment: Don’t bother using “Dope” or “Rectorseal” or whatever the name of the compound that is supposed to magically produce a leak-free result in seconds. Just buy cheap PTFE tape, and lots and lots of it. 12 rolls might see you through a medium sized project.
Conclusion.
Fucking hell.